Click 'Backup' in the navigation bar
Click Backup in the navigation bar at the top of the page.
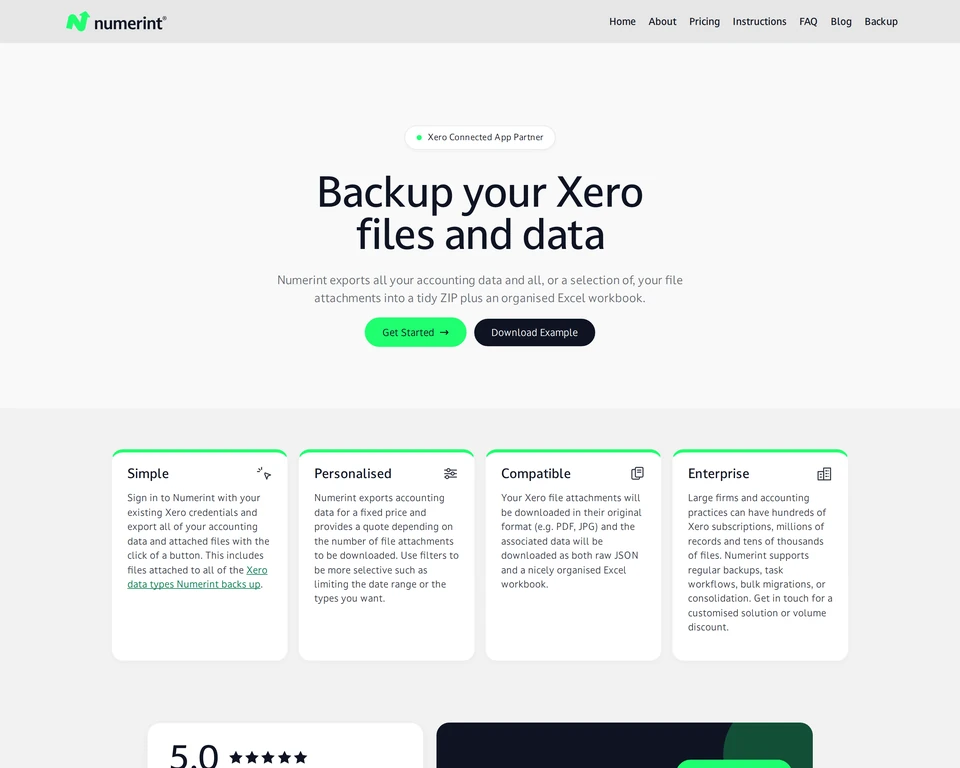
Step-by-step, from connecting Xero to downloading your ZIP archive.
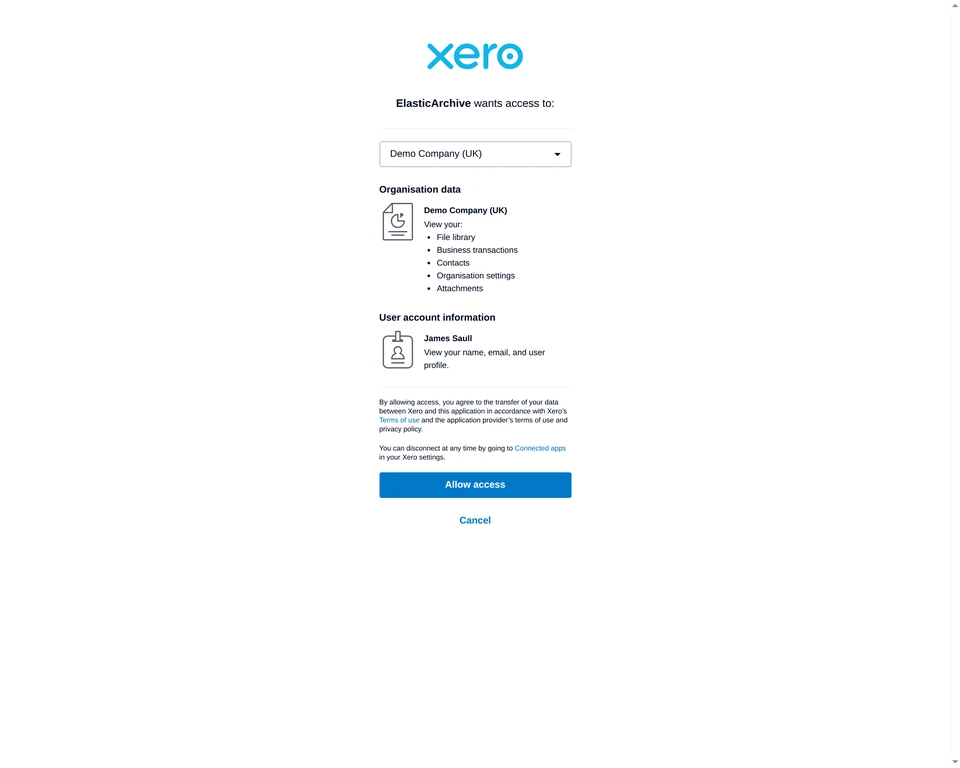
Numerint is optimised for ease of use. You do not need to register or create an account. You just log in with your Xero credentials and grant Numerint read-only access. Your Xero credentials are never shared with us, and you are invited to disconnect once you have finished.
You start by scanning your account to assess how many attachments will be backed up. We will then quote you a price based on the number of attachments. Refer to our pricing page for example pricing. You can adjust the price using the filters to select specific Xero types and date ranges. It is entirely legitimate to use the filters to select no files. This will create a full export of the accounting data (an Excel workbook). Alternatively, click Buy data only on the status page to skip attachments entirely and export all your accounting data for £10. Either way, Stripe handles payment and emails you an invoice, and the backup begins immediately.
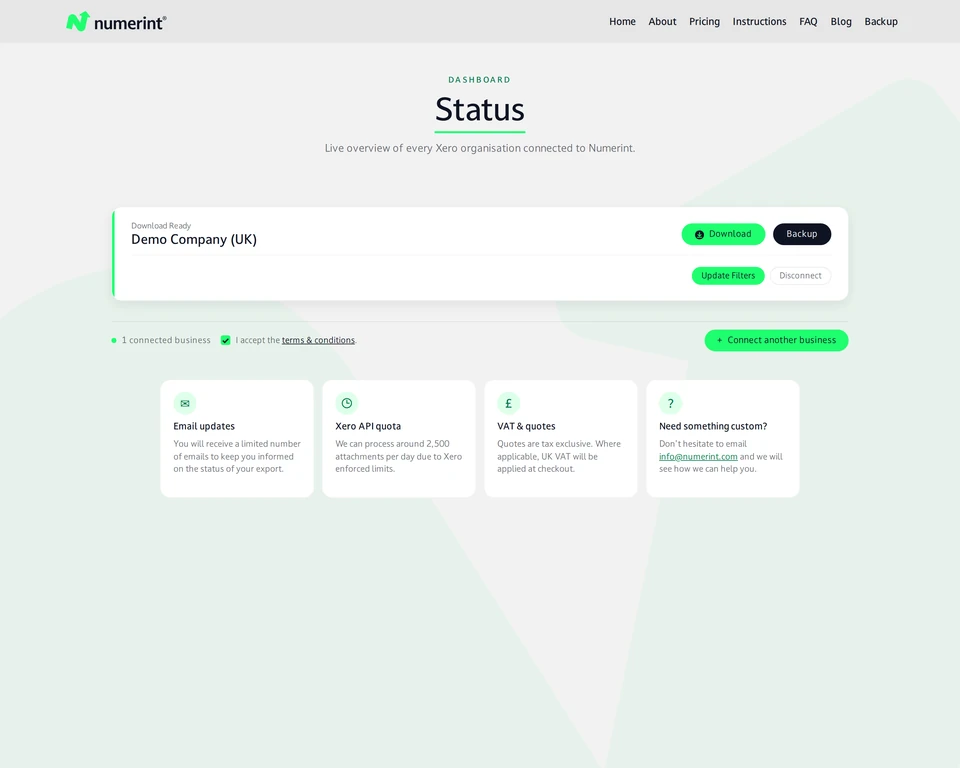
The status of the backup includes an estimated time of completion. Depending on the size of the backup (primarily the number of files) it could take minutes, hours or even days. Feel free to browse away and come back. You will be notified by email when the task is complete.
Click Backup in the navigation bar at the top of the page.
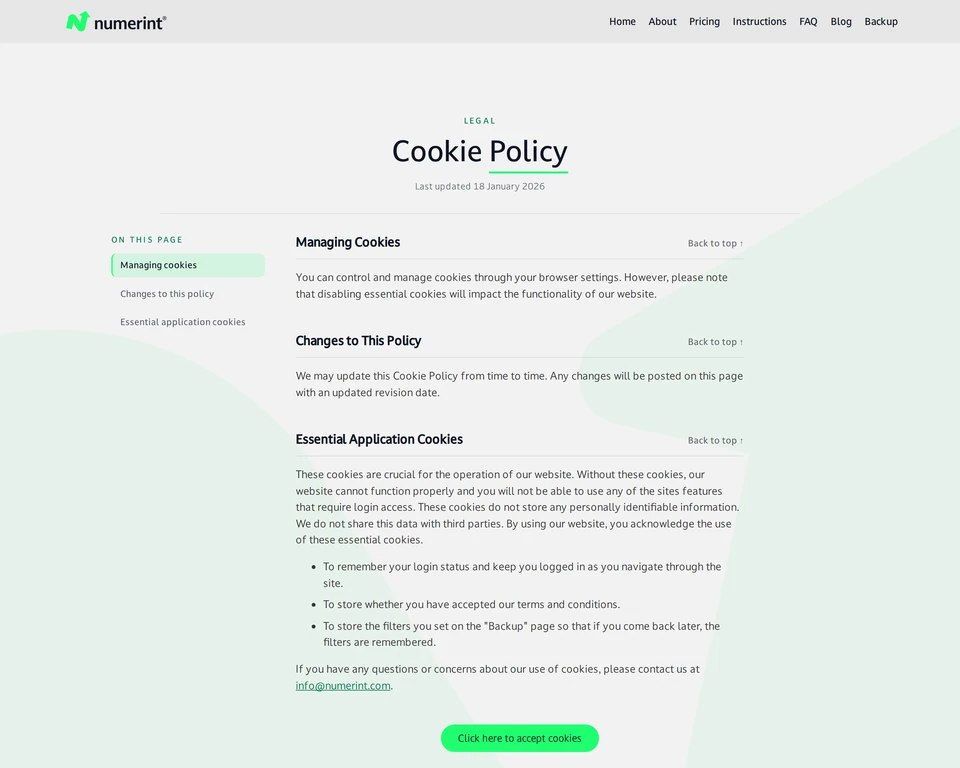
You must accept the cookies to use our site's functionality. We do not use tracking cookies.
Follow the prompt to log in to your Xero account, then select the relevant organisation. You can add more organisations later by clicking the "Connect Another Business" button on the Status page.
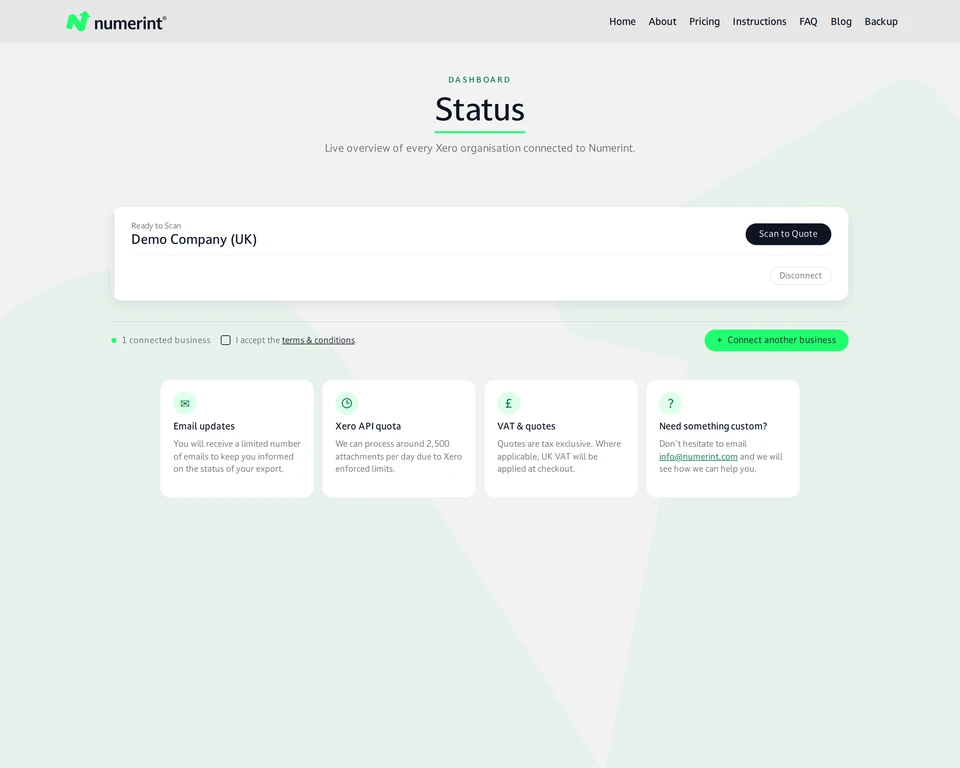
On the status page, click the Scan to Quote button. This assesses how many files are in Xero, which is needed to know how much the export will cost and how long it will take. Later in the process you will be able to apply filters such as date ranges.
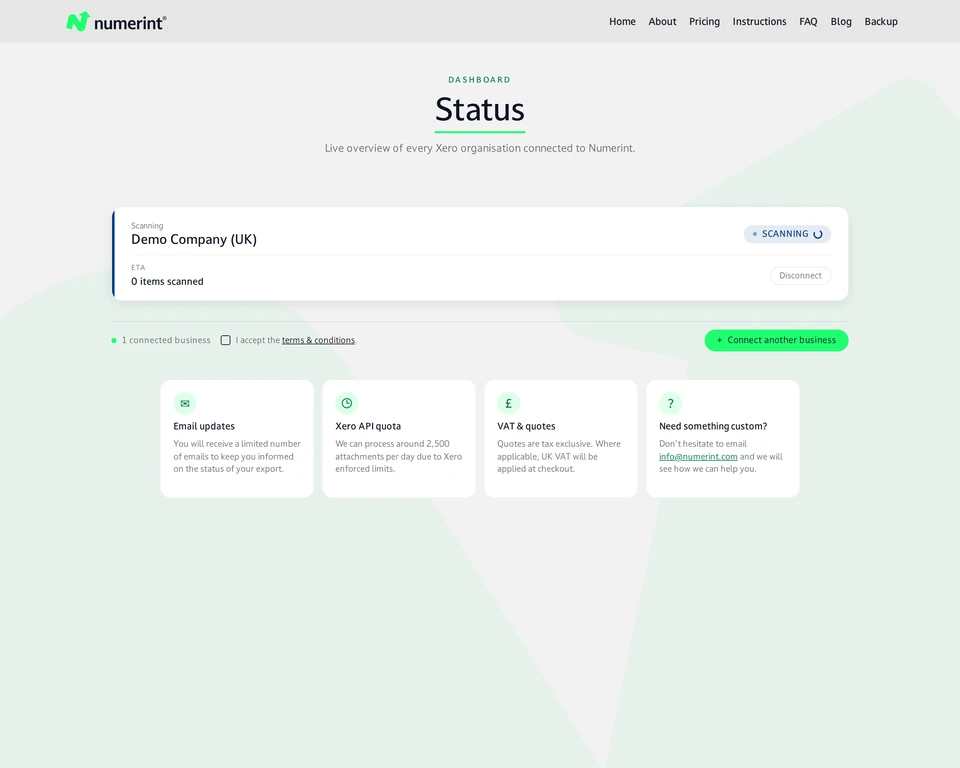
Scanning should only take a few minutes. If you have a lot of data in Xero it could take longer. Feel free to close the browser and come back later. When the scan finishes, an email notification is sent to the email registered in your Xero account. Don't disconnect Numerint during the scan as this will revoke permissions and stop the scan.
Note the different states:
Pending: The job has been submitted but hasn't started yet.
Scanning: Identifying the relevant price band.
Running: Data is being backed up (does not happen during a scan).
Once the scan is complete, use Update Filters to reduce the files you wish to download. The default is to download all Xero data and attachment types. Altering the filters changes the number of attachments and the price.
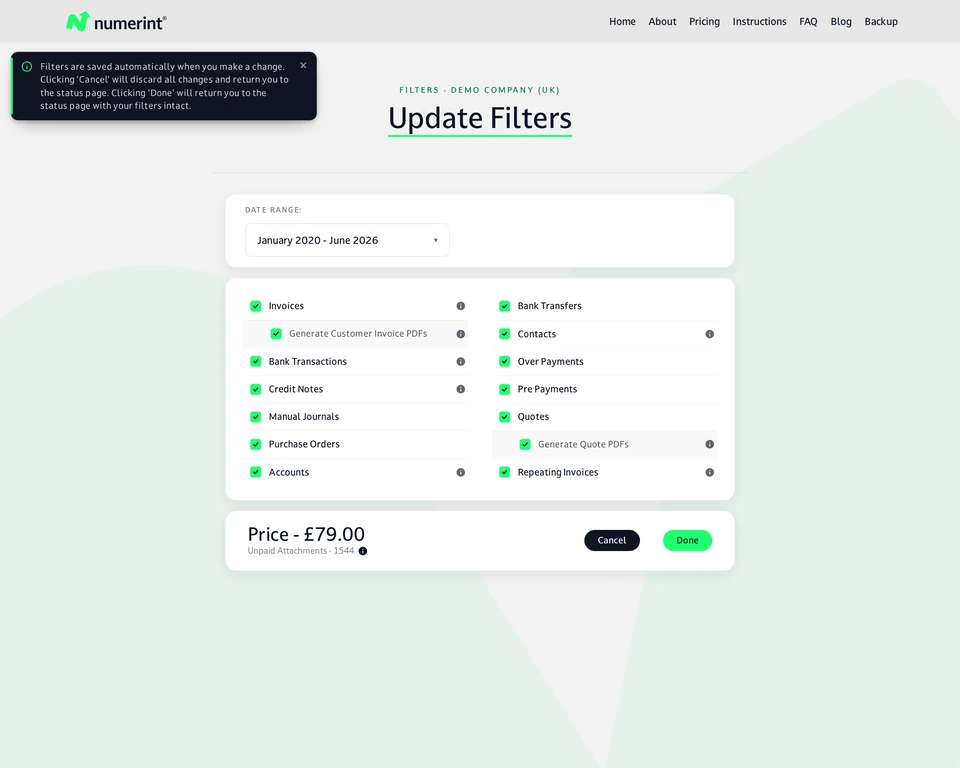
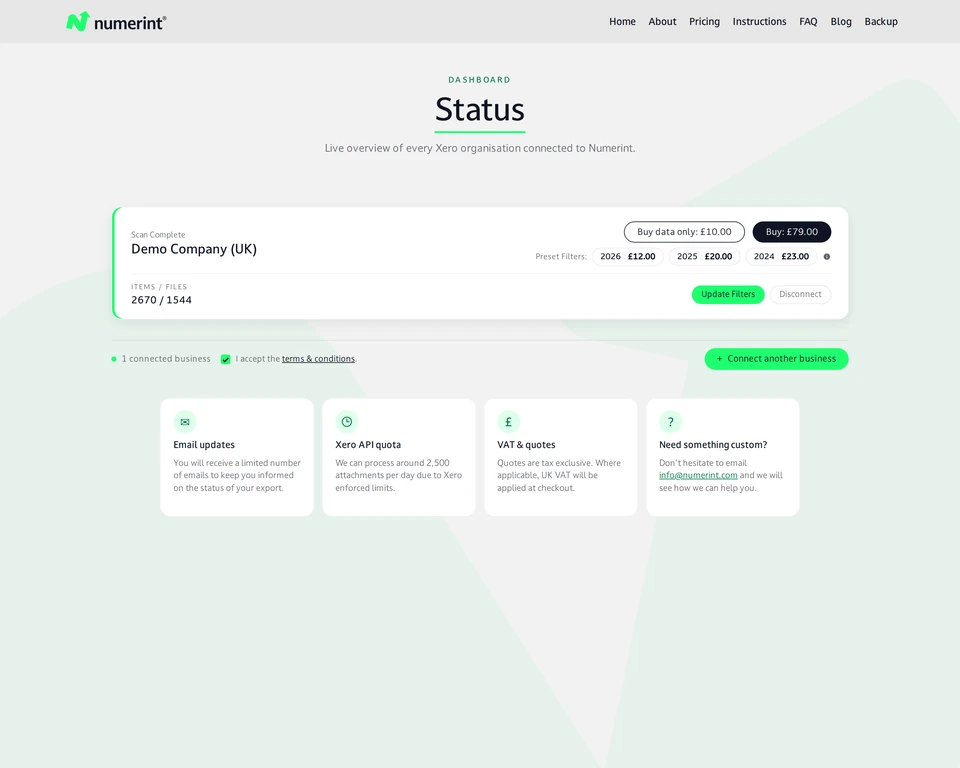
Once you have selected your desired filters, accept the terms and conditions and click Buy to continue. To back up a single calendar year for less, use the Preset Filters buttons, or click Buy data only to export your accounting data without attachments.
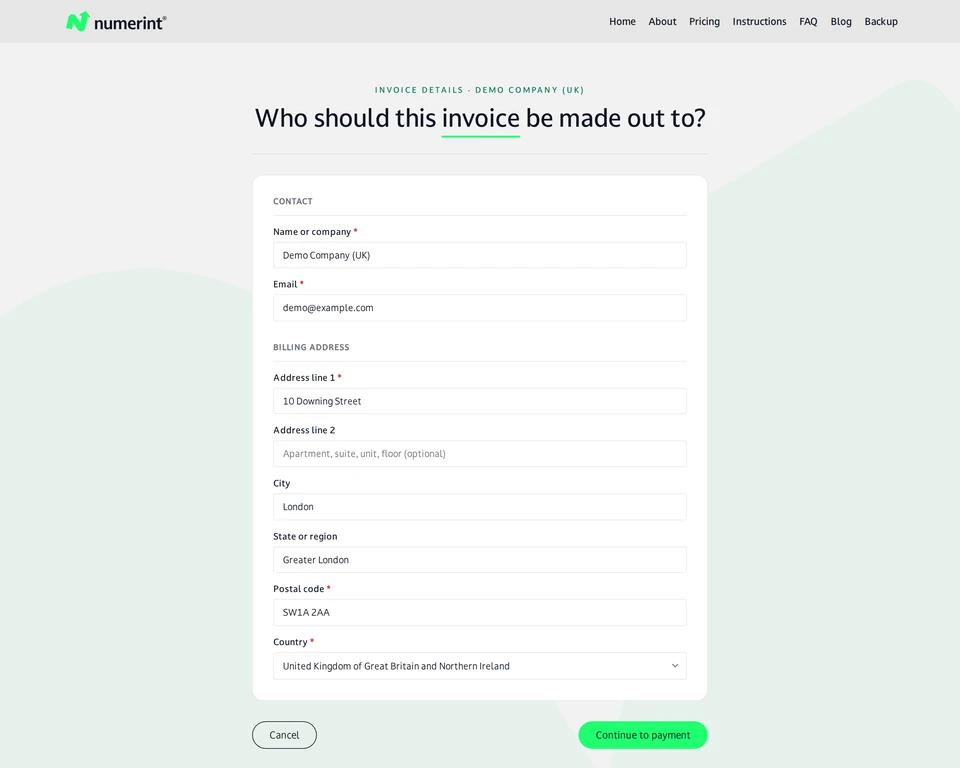
Invoice Creation collects the details needed for invoicing. The email address you enter is used by Stripe to send you the invoice. After you click Continue To Payment you will be directed to Stripe for payment.
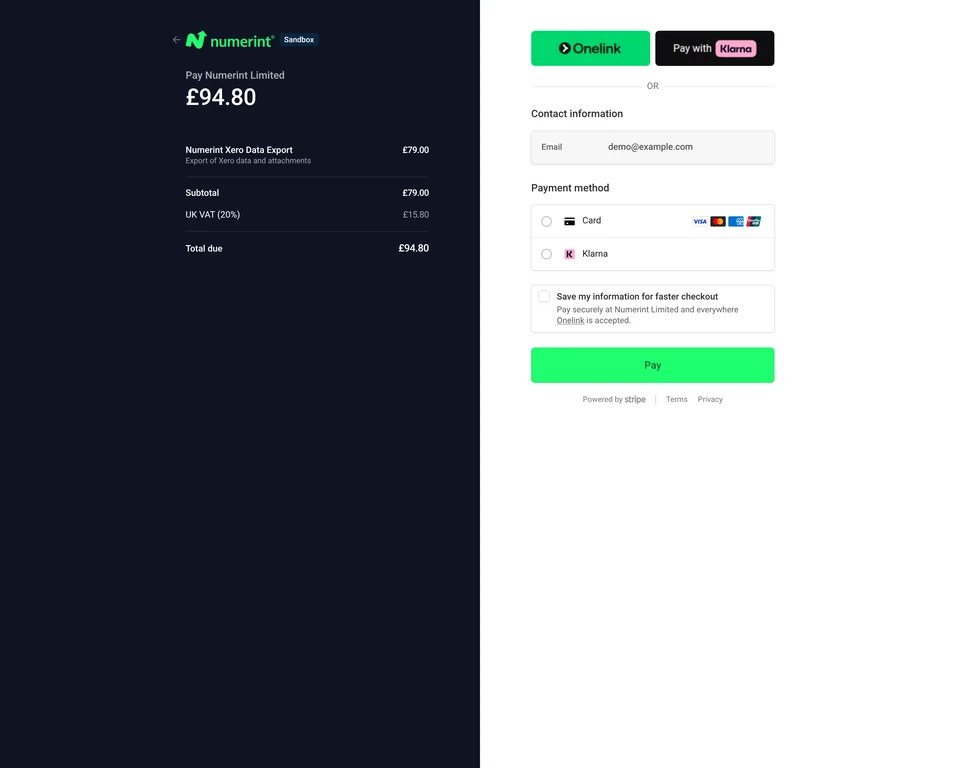
Fill out your payment details. UK VAT is added for UK customers. Stripe emails you the invoice automatically.
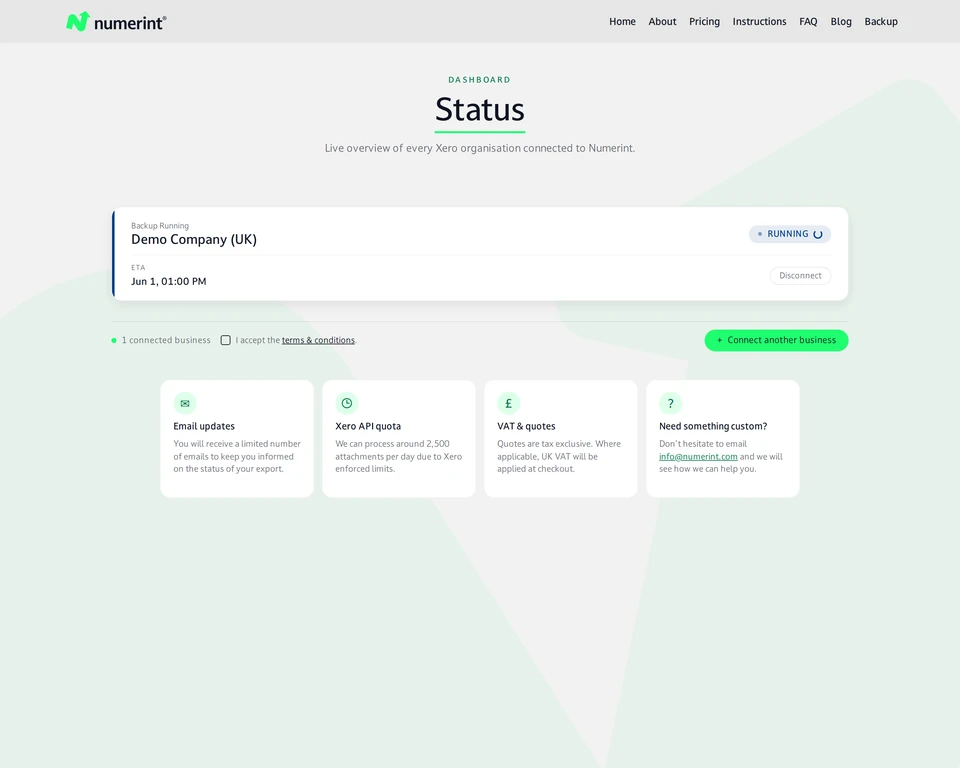
Once checkout completes, the backup begins automatically and the Status page shows RUNNING. An estimated completion date and time is shown. This may be days away depending on the scale of the export. Feel free to close the browser and come back later. When the backup finishes, an email notification is sent to the email registered in your Xero account. Don't disconnect while the backup is running, as this revokes permissions and halts progress. Reconnecting will resume the job.
Once the backup completes, click the Download button to download a single Zip archive to your local computer. The Zip archive contains your original attachments, plus the complete accounting data in an Excel file. Download an example Numerint backup ZIP.